Kitchen Layout Clearances: Walkways, Work Aisles, and Door Swings (A Practical Guide)
Kitchen layout mistakes usually don’t look like “mistakes” on paper—they show up when the fridge door blocks the aisle, two people can’t pass each other, or the dishwasher turns the sink into a bottleneck. The good news is that a small set of clearances does most of the heavy lifting. This guide walks you through the clearances that matter most before you finalize cabinets, an island, or appliance locations.
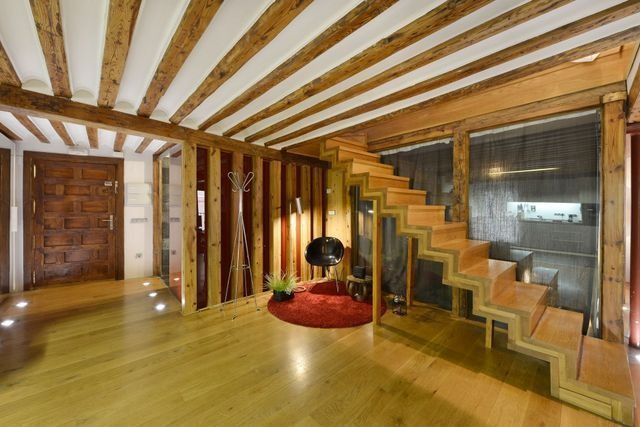
If you’re planning a full remodel and want the layout and clearances coordinated with cabinets, counters, and lighting, start here. See “Trustwork Home Renovations and Repairs – Kitchen Remodeling.”
What clearances matter most in a kitchen layout?
The clearances that matter most are the ones that prevent “traffic collisions” and keep your primary work areas usable: the work aisle, the walkway, and appliance door swings.
A simple way to think about it is: people need a path to move through the kitchen, and cooks need a larger zone to stand, prep, and open appliances without being bumped.
How wide should a kitchen walkway be vs. a work aisle?
A walkway is a path people use to pass through the kitchen; a work aisle is where someone stands to cook, prep, load the dishwasher, and open appliances.
NKBA’s planning guidelines commonly used by designers recommend:
- Work aisle: at least 42" for one cook, 48" for multiple cooks.
- Walkway: at least 36".
These are planning guidelines (not a substitute for local code or your project’s specific constraints), but they’re a strong baseline for comfort.
Decision table: the “clearance checks” that prevent most layout regrets
| Clearance check | Baseline guideline to start with | When you should go bigger | Quick test you can do |
|---|---|---|---|
| Walkway (pass-through path) | 36" minimum | If the walkway is a main route to other rooms | Tape it on the floor and walk it carrying a laundry basket |
| Work aisle (cook/prep zone) | 42" (one cook), 48" (two cooks) | If you cook together, host often, or have big door swings | Tape both counter edges and open appliance doors in place |
| Dishwasher standing space | Keep room to stand and work when open | If dishwasher opens into a corner/turn | Open door outline with tape + stand where you’d unload |
| Seating traffic behind stools | 32" if no one passes; 36" to edge past; 44" to walk past | If seating backs into a main walkway | Put a chair in place and test someone walking behind it |
| Work triangle traffic | Avoid main traffic crossing your sink–range–fridge path | Open-concept kitchens with kids/guests cutting through | Mark your 3 points and see if the straight-line path crosses the walkway |
| Landing space at key stations | Counter space to set items down (fridge/sink/cooktop) | Small kitchens where every inch must work | Place a cutting board + dish rack outline where they’ll actually live |
How do you keep appliance doors from colliding (or blocking the kitchen)?
Start with this rule: assume every appliance door will be open at the worst possible time. Then design so the kitchen still functions.
The easiest approach is to “draw” door swings on the floor plan (or tape them on the floor during planning). Look for these common conflicts:
- Fridge door blocks the primary aisle
- Dishwasher door blocks the sink or a main walkway
- Oven door opens into the only standing zone
- Two doors fight each other in a corner (fridge + pantry, oven + drawer bank)
If you find one of these, you don’t always need a full redesign—sometimes a small shift in appliance location, a different swing direction, or a tighter cabinet run solves it.
Mini-scenario #1: A galley kitchen has a fridge at the end of the run. When the fridge door opens, it cuts the aisle in half—so unloading groceries becomes a traffic jam. Sliding the fridge a few inches, adding landing space on the handle side, or relocating it to a different wall can restore flow without changing the whole style of kitchen.
Where should the sink, range, and fridge sit for easy movement?
For many kitchens, the classic starting point is the work triangle (sink, cooking surface, refrigerator). The goal isn’t to force a perfect triangle—it’s to keep the path between these points efficient and keep main traffic from cutting through it.
Common guideline ranges used in kitchen planning:
- Each leg is typically planned in a practical range (often cited as about 4–9 feet).
- The total travel distance between the three points is kept manageable.
- Major traffic shouldn’t cross through that path.
In modern kitchens, “work zones” (prep, cook, clean, beverage) can be more realistic than a strict triangle, especially with multiple cooks. What doesn’t change is the need for an unobstructed path between your busiest stations.
How much landing and prep space should you plan around key stations?
“Landing space” is the counter area where you set things down when you pull them from the fridge, lift a pot off the cooktop, or unload dishes. In real life, landing space is what keeps your kitchen from feeling cramped.
Designer planning guidelines often recommend:
- Sink landing: at least 24" on one side and 18" on the other.
- Refrigerator landing: at least 15" on the handle side (or an equivalent nearby landing).
- Cooking surface landing: at least 12" on one side and 15" on the other.
- Primary prep/work area: a continuous section of counter space (commonly planned as 36" wide x 24" deep) near the sink.
- Dishwasher proximity: keep the dishwasher close to the sink zone for efficient loading/unloading.
The goal isn’t to hit every number perfectly—it’s to ensure you have a real place to set things down at each station.
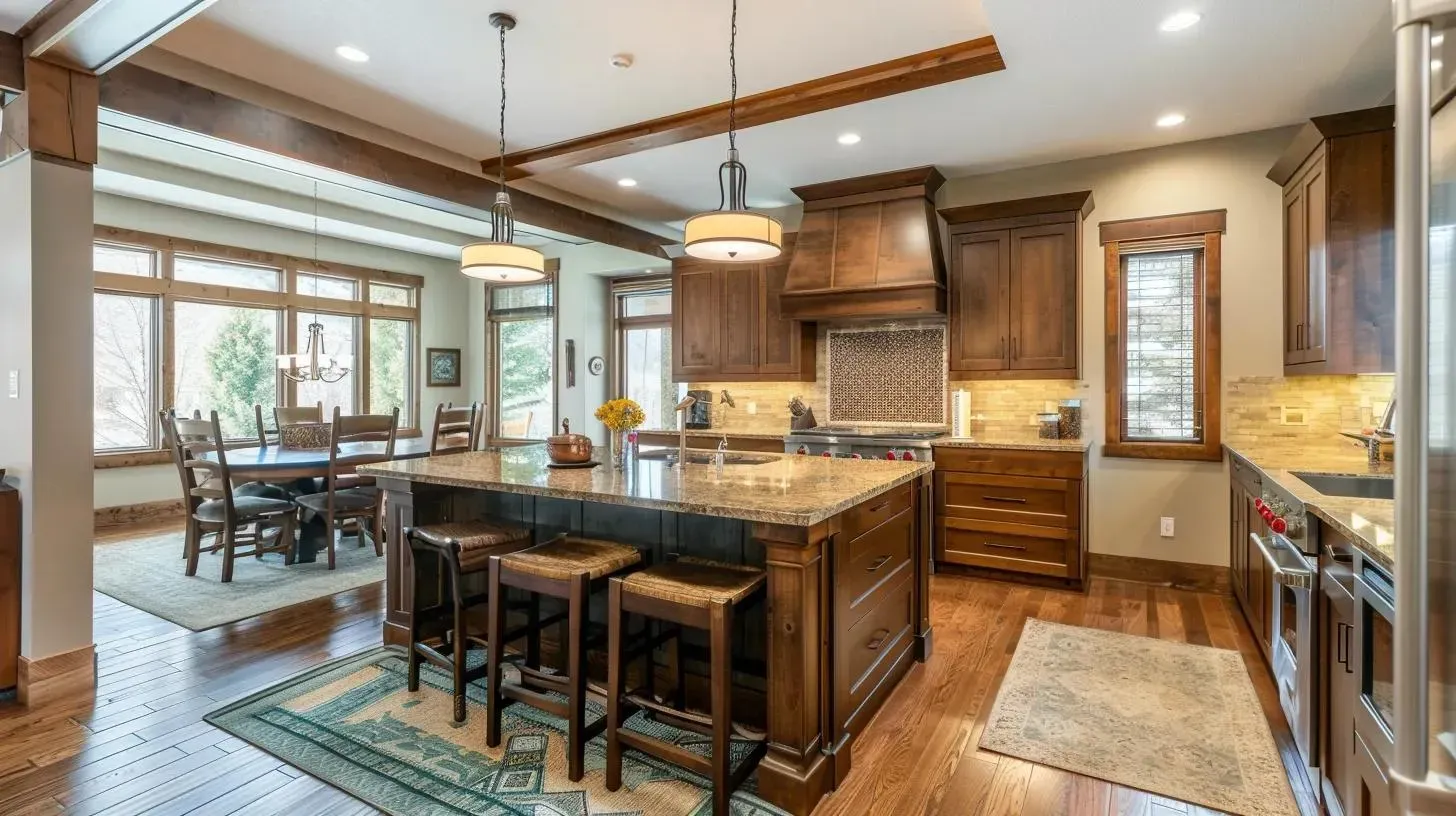
Mini-scenario #2: An open-concept kitchen adds an island for seating, but the prep space ends up split into small fragments. Cooking feels “busy” because there’s no single continuous area for chopping, mixing, and staging. Shifting the sink location or rebalancing the island seating vs. prep side can restore a true prep zone without sacrificing the social side of the kitchen.
What clearances do you need for seating at an island or peninsula?
Seating is one of the easiest ways to accidentally destroy traffic flow—because stools extend into the space people need to walk.
A practical way to plan is to separate:
- Knee space at the counter (room for legs)
- Traffic clearance behind the seated person (room for walking)
A commonly used planning baseline is:
- About 32" behind seating if no one needs to pass
- About 36" if someone needs to “edge past”
- About 44" if someone needs to comfortably “walk past”
If seating backs into your kitchen’s main walkway, it’s worth treating that as a design constraint—not an afterthought.
If you’re comparing remodel bids, a clear layout plan (with measured clearances) makes estimates more accurate and reduces change orders later.
Common mistakes and red flags in kitchen layout spacing
- Confusing walkways with work aisles. A kitchen can “meet the minimum” for walking but still feel unusable for cooking.
- Planning the island first, then forcing everything else to fit. Islands should be sized around clearances and door swings, not the other way around.
- No landing space near the fridge or cooktop. You end up stacking items where they don’t belong (or on the stove).
- Dishwasher blocks the sink zone. If opening the dishwasher means no one can use the sink, you’ll feel it daily.
- Seating that steals your main traffic path. If people must squeeze behind stools to pass through, the kitchen will feel crowded even when it’s clean.
FAQ: kitchen clearance planning
Are these clearance numbers “code”?
No. Many common clearance numbers come from widely used kitchen planning guidelines. Local codes and project constraints can change what’s required or practical.
What if my kitchen is too small to hit every guideline?
Prioritize in this order: (1) safe door swings and appliance access, (2) a usable work aisle at the main cooking/prep zone, (3) landing/prep space near key stations, and (4) seating clearances.
Do I need an island to have a functional kitchen?
No. If an island forces tight aisles or blocks appliances, the kitchen can function better without it—or with a smaller peninsula.
What’s the fastest way to “test” a layout before committing?
Use painter’s tape on the floor: mark cabinet fronts, island edges, and appliance door swings. Then run real scenarios: unloading groceries, loading the dishwasher, and two people passing each other.
Next step
Kitchen layouts feel “right” when the clearances are planned early—before cabinets are ordered and before trades are scheduled. If you want a project-managed kitchen remodel that plans layout and clearances alongside cabinets, counters, and lighting, start here:
- Kitchen remodeling overview.
- Project gallery (for layout ideas).
- Estimate request.
External references