Kitchen Remodel Scope of Work: How to Write a Scope That Prevents Surprise Add-Ons
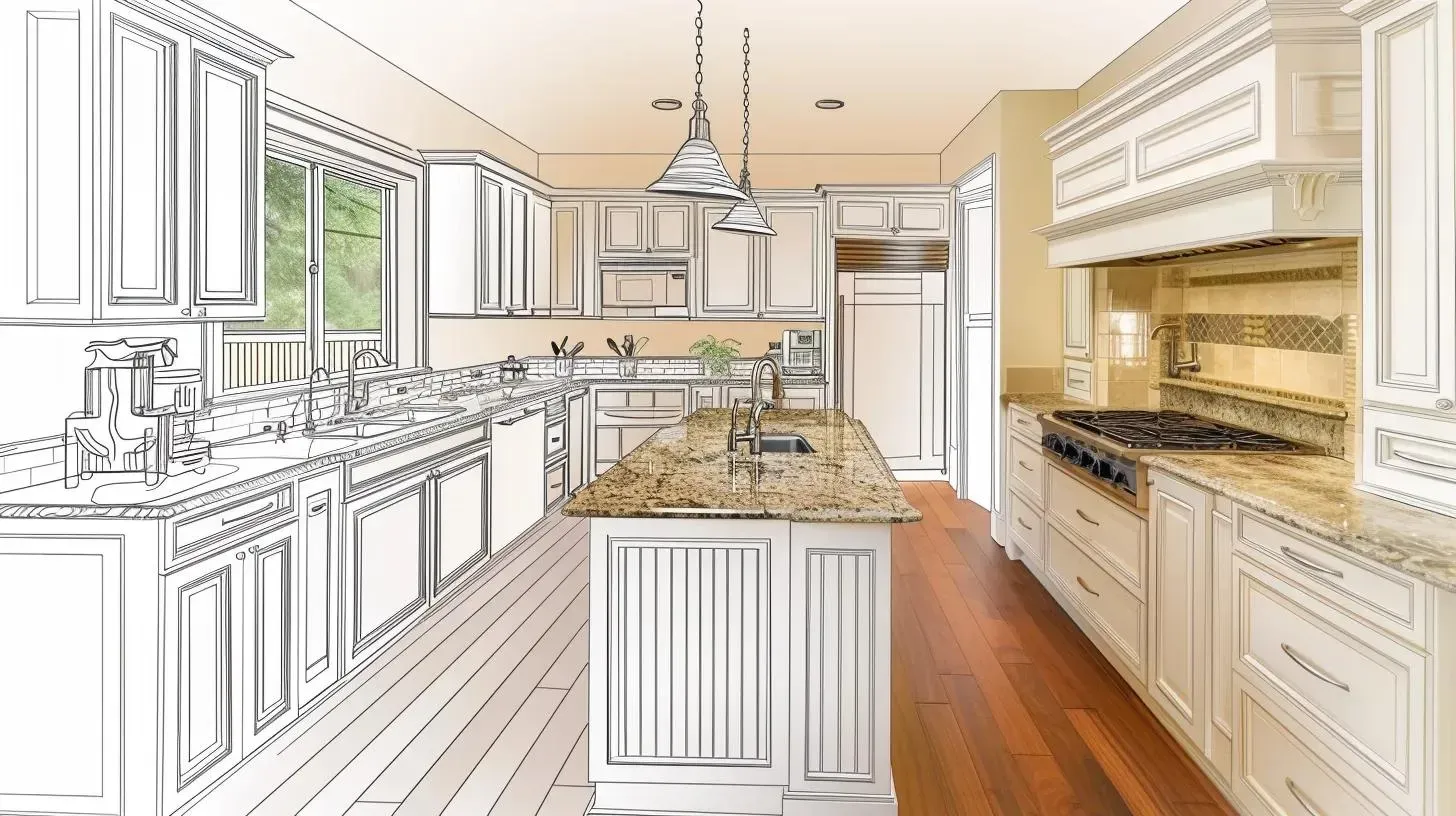
A kitchen remodel goes off-track when the “plan” lives in people’s heads instead of in a clear scope of work. This guide shows how to write a homeowner-friendly kitchen remodel scope of work (SOW) that keeps expectations aligned and reduces the most common source of budget creep: unclear inclusions and assumptions. For a high-level overview of a project-managed kitchen remodel process in the Denver metro, see “Trustwork Home Renovations and Repairs – Kitchen Remodeling.”
What is a kitchen remodel scope of work, and why does it matter?
A scope of work is a written description of what will be done, what will be delivered, and what is explicitly not included. It matters because it turns “we talked about it” into a shared reference that can be checked when decisions, delays, or surprises show up.
A good SOW also makes it easier to compare proposals later, because you can tell whether two bids are pricing the same work—or two completely different versions of your kitchen.
What should your scope include at minimum?
At minimum, your scope should describe the outcome (what the finished kitchen includes), the work categories (demo, install, trade work), and the decision dependencies (items that must be selected/confirmed for the plan to stay accurate).
Here’s a practical minimum structure that homeowners can use:
- Project summary: one paragraph describing what’s changing and what’s staying
- Assumptions: conditions you’re assuming are true (and what happens if they aren’t)
- Inclusions: what work and materials are included
- Exclusions: what is not included (so it can’t “silently” appear later)
- Owner responsibilities: what you’re supplying/choosing/approving
- Site protection + cleanup expectations: how the home is protected and how debris is handled
- Acceptance checkpoints: how you’ll confirm each phase is complete before moving on
How do you define boundaries so “nice-to-haves” don’t become surprise add-ons?
The fastest way to prevent surprise add-ons is to separate must-do scope from wish-list scope. Your scope should state what is definitely happening and keep optional upgrades in a clearly labeled “Alternates” section.
This one move prevents the most common confusion: homeowners assume an upgrade is included because it was mentioned once, while the contractor assumes it’s excluded because it wasn’t specified.
Decision table: where scope creep usually starts (and how to write it clearly)
| Scope hot spot | What to write in the scope | What to attach as backup | How it prevents add-ons |
|---|---|---|---|
| Layout changes | Appliance/cabinet layout is (unchanged / changed as shown on plan) | Simple sketch or marked-up photo | Avoids we thought we were moving the sink confusion |
| Electrical updates | Replace/relocate outlets and lighting per plan; no whole-home rewiring | Outlet/lighting mark-up | Prevents vague electrical as needed lines |
| Plumbing changes | Sink remains / relocates to ___; supply/drain changes limited to ___ | Fixture spec links + location note | Avoids hidden relocation scope being assumed |
| Cabinets & storage | Cabinets include ___ (features, hardware level); excludes custom organizers unless listed | Cabinet layout + feature list | Keeps accessories from becoming surprise line items |
| Surfaces & finishes | Backsplash includes ___ (area); paint includes ___ (walls/ceiling/trim) | Finish schedule (even simple) | Stops we thought that wall was included disputes |
| Protection & cleanup | Dust protection includes ___; daily cleanup includes ___; haul-off included/excluded | Written protection notes | Prevents after-the-fact charges for protection/disposal |
How do you write inclusions in a way that’s actually measurable?
“Included” should be written so a stranger could verify it. The trick is to write inclusions as work + location + finish level, not just a product name.
Instead of: “Install new backsplash.”
Write: “Install backsplash tile from countertop to underside of upper cabinets along the sink wall and range wall; include edge finishing at open ends; grout color: ___ (or allowance).”
This approach reduces the “it depends what you meant” problem.
What assumptions should you include to handle unknowns without panic?
Assumptions are not loopholes—they’re risk disclosures. They tell everyone what conditions the plan is based on.
Common kitchen remodel assumptions (use only what applies):
- Existing walls are reasonably plumb/flat within typical tolerance for cabinet install
- Subfloor condition is adequate unless damage is discovered after demo
- Existing electrical/plumbing are serviceable unless code/safety issues are uncovered
- Appliance specs provided by owner are final and will not change after cabinet layout approval
Mini-scenario #1: A homeowner assumes the existing floor is “fine.” After demo, they discover a soft subfloor area near the sink. Because the scope included a subfloor condition assumption and a process for handling discoveries, the next steps are clear and the decision is made quickly—without argument.
How do you manage selections so your scope stays accurate?
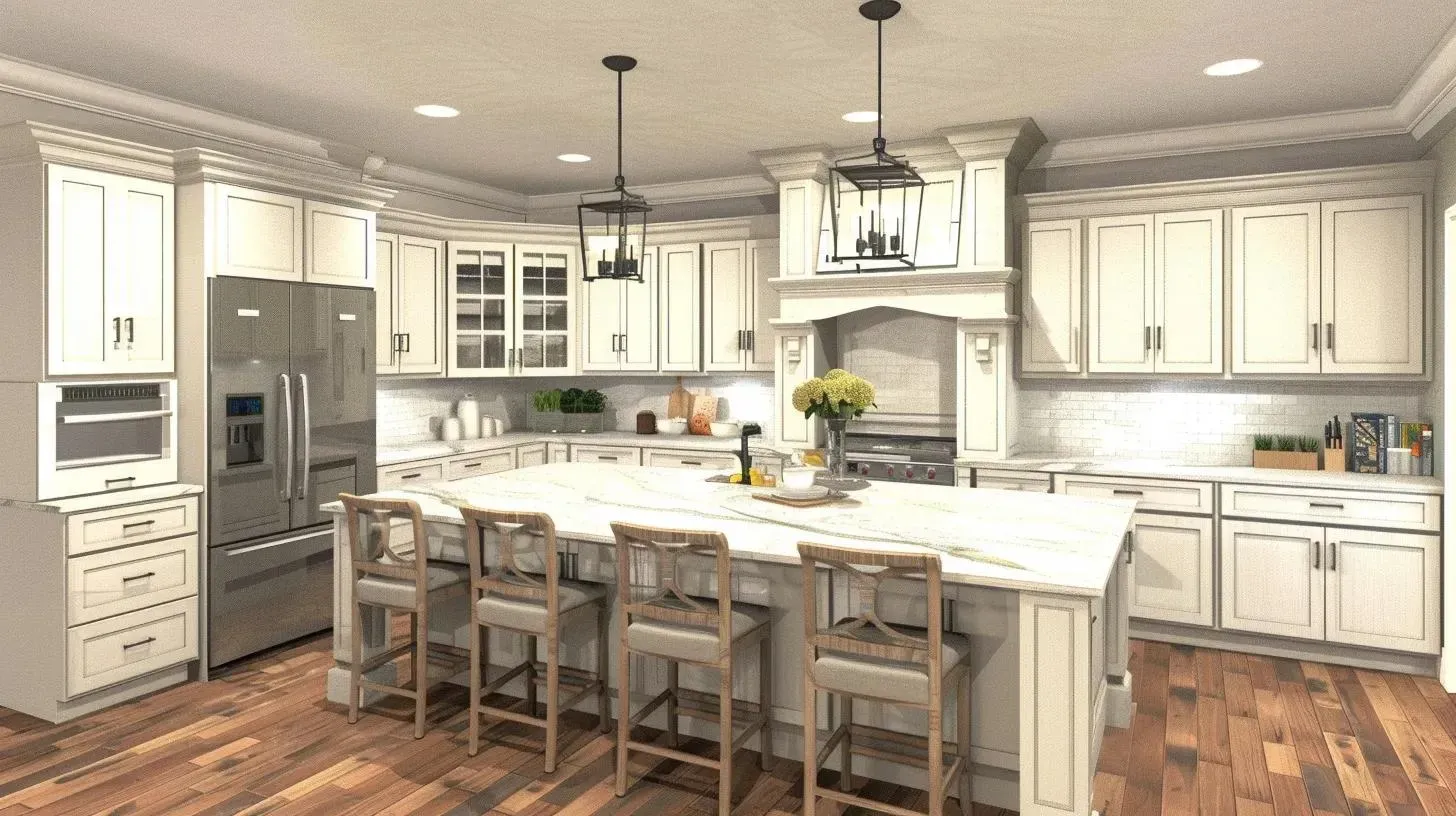
Selections create scope changes when they’re made late or without documenting tradeoffs. Your SOW should include a simple Selections Register: a short list of dimension-driving and finish-driving items with due dates for choosing.
Keep it light—this is about clarity, not paperwork.
Selections register checklist (starter list)
- Appliances (model/spec + install requirements)
- Sink + faucet (spec + cutout/holes)
- Cabinet layout (approved drawing or plan)
- Countertop material + edge + sink cutout type
- Backsplash coverage area + tile selection
- Flooring selection + transition plan
- Lighting plan (fixture type + locations)
If you want to submit selections and photos for scoping, you can use “Trustwork Home – Estimate Request.”
What does a “good” kitchen remodel scope look like section-by-section?
A strong scope reads like a set of labeled buckets. Below is a homeowner-friendly outline you can copy and fill in.
Scope template (copy/paste)
Project summary:
- Remodel kitchen at ___; keep/change layout: ___; primary goals: ___
Demolition + prep (included):
- Remove: ___ (cabinets/counters/backsplash/flooring as applicable)
- Protect: ___ (adjacent floors, doorways, vents)
- Disposal/haul-off: included/excluded: ___
Framing/repairs (included):
- Wall changes: ___ (none / as shown)
- Repairs: ___ (only as needed after demo / specified repairs)
Electrical (included):
- Outlets/switches: ___ (relocate/add per plan)
- Lighting: ___ (ceiling/under-cabinet)
Plumbing (included):
- Sink location: ___ (same / move to ___)
- Faucet/supply/drain: ___
Cabinetry (included):
- Cabinet plan: ___ (attach drawing)
- Hardware/features: ___
Countertops (included):
- Material/edge: ___
- Sink cutout: ___ (undermount/drop-in)
Backsplash + wall finishes (included):
- Coverage area: ___
- Paint scope: ___
Flooring (included):
- Replace/keep: ___
- Transitions: ___
Exclusions (not included):
- ___ (examples: whole-home flooring, structural engineering, window replacement, etc.)
Alternates (optional):
- ___ (list optional upgrades with separate pricing)
Acceptance checkpoints:
- Rough-in verified before close-up
- Cabinets leveled before countertop templating
- Final walkthrough punch list completed
If you want a remodel team that uses a scope-first approach to reduce surprises, the kitchen remodeling pillar explains how planning connects to execution.
Common mistakes and red flags in kitchen remodel scopes
The red flags are usually vague language that hides assumptions.
- “As needed” everywhere. Some “as needed” is normal, but if every category is vague, the budget is effectively undefined.
- No exclusions. If exclusions aren’t written, you can’t tell what’s missing until it becomes a surprise.
- No alternates section. Optional upgrades should be labeled as optional, not implied.
- Selections not tracked. Late selections are a top driver of last-minute scope changes.
- No measurable descriptions. If work can’t be verified (location + quantity + finish level), it will be reinterpreted later.
Mini-scenario #2: A homeowner assumes under-cabinet lighting is included because it was discussed. The scope only says “lighting updates.” When the electrician prices it as an add-on, frustration follows. A single line in the scope—“under-cabinet lighting included at ___ locations”—would have prevented the disagreement.
Quick FAQ: scope of work for a kitchen remodel
Is a scope of work the same as a contract?
No. A scope of work describes what will be done and delivered. A contract includes legal terms like payments, timing, and change orders. Keep your scope clear so the contract can reference it without ambiguity.
How detailed should my scope be?
Detailed enough that inclusions are measurable and exclusions are explicit. If you can’t tell whether something is included, it’s not detailed enough.
Can I use a template and still make it accurate?
Yes—as long as you customize it to your kitchen and attach a simple plan (even a marked-up photo) so layout assumptions are visible.
Next step
If your scope is written and your selections register is started, you’re ready to align it with a build plan and request scoping help.
- Kitchen remodeling pillar
- Estimate request (photos + notes)